
Branding & packaging / Practical guide
How to Brief a Packaging Designer for a Food Brand
A good food packaging brief tells your designer where the product will be sold, what customers need to notice and what the printer can make. You can put the essentials on one page. Keep the product list, label copy and printer’s template alongside it.
Describe the product and where people will see it
Start with the purchase. A shopper choosing a chocolate bar from a rack may see very little of the wrapper. A customer buying a gift box online may see the whole front, but only as a small image. Tell the designer which of those situations matters most.
Name the product, the buyer, the sales channel and the other products a shopper might compare it with. If this is a redesign, share a photo of the current pack and point out the details regular customers look for. One clear observation is more useful than a moodboard full of words like premium or bold.
Example: a three-flavour granola launch
We’re launching three granolas in 300 g pouches for independent grocers and our online shop. People should see the flavour before they read anything else. Use one layout across the range, with enough variation for a shopper to pick the right pouch at a glance.
List every version the designer needs to make
Use one row per pack version. Include the flavour, weight, format, market and language. Mark what launches first and what can wait. Three flavours on one pouch template are a different job from three flavours across pouches, cartons and gift sleeves.
The Valley Isle Chocolate project shows how a range can hold together. A floral emblem and framed labels give the gold bar wrappers and patterned gift boxes a shared signature. The flavour panels still make the individual bars easy to tell apart. In your brief, be explicit about which details stay fixed and which change from one item to the next.
Get the printer’s specs before final artwork
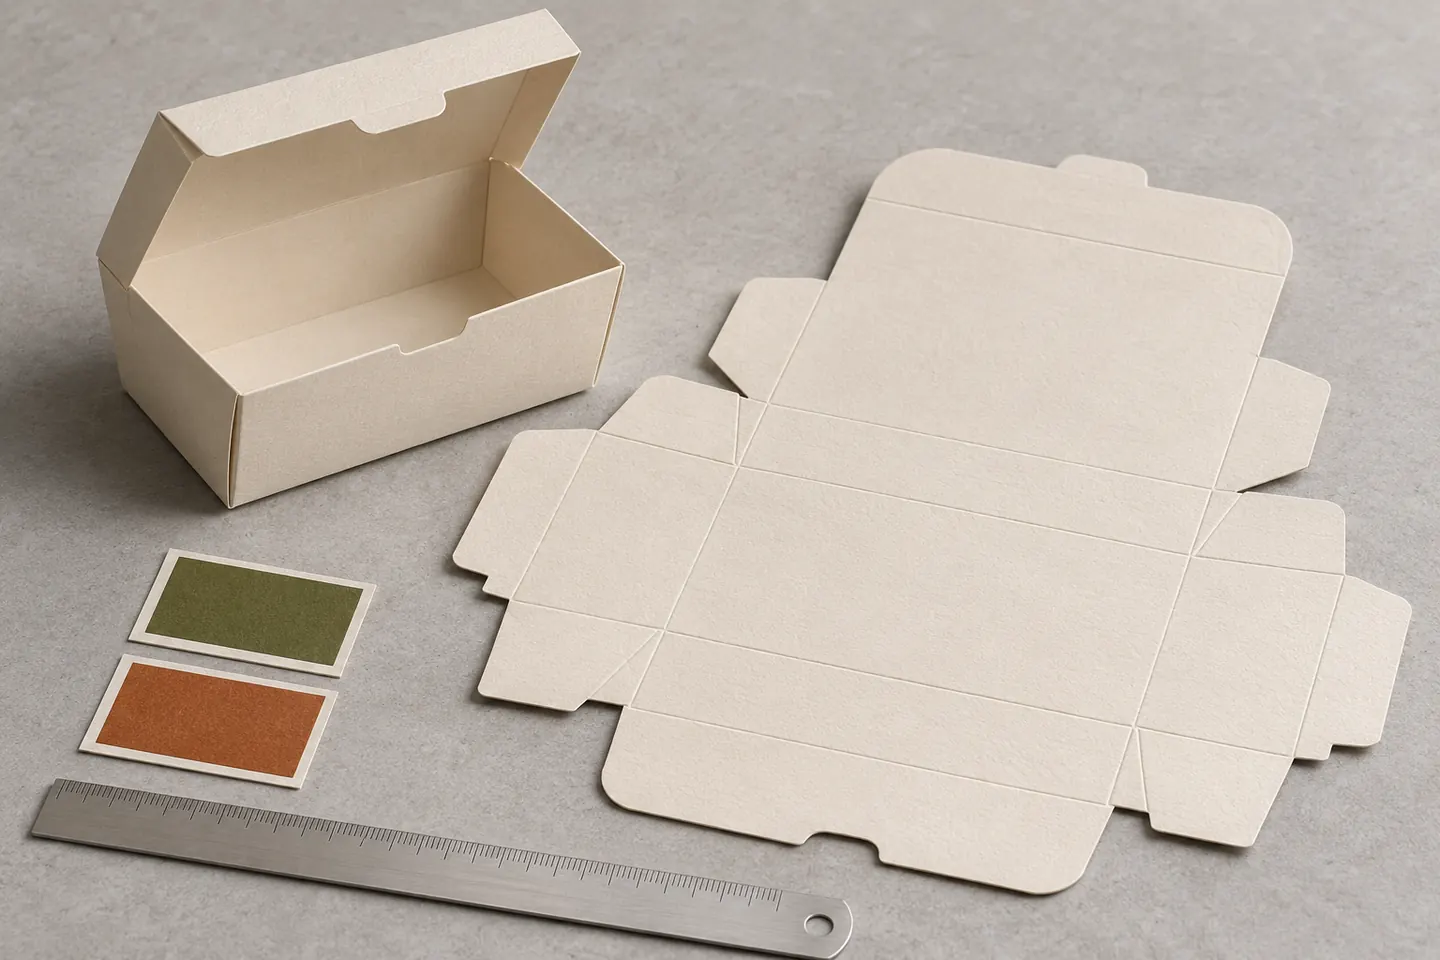
Ask for the dieline, the template that shows where the packaging is cut, folded or sealed. If you’re still choosing between a pouch and a carton, tell the designer that the shape is provisional. Settle it before anyone spends time laying out the final back panel.
Ask for the material, print method, bleed, minimum type size and file format. Bleed is the artwork that extends past the cut edge so a small shift during trimming doesn’t leave a white strip. Use your printer’s dimensions for this job.
Price the finish separately
If you want foil, varnish or a special stock, ask for a quote with and without it at the quantity you’ll actually order.
Ask what varies by product
Confirm whether each version needs its own plates or setup. A layout that shares more across the range can give the printer more options.
Set a proof date
Work back from when the packed product needs to ship. Leave time to review a proof, make corrections and approve the final files.
Define the range
List formats, sizes, flavours and launch markets.
Confirm production
Get the printer’s dieline, material and finish requirements.
Approve the proof
Check copy, barcodes and artwork before authorising print.
DBS planning sequence. Agree production requirements and approval responsibilities with your printer.
A real packaging project from the team at Blind. Watch how the design discussion connects to print production, then use the checklist below to prepare your own handoff.
Video: Designing A Beautiful Beer Can – Building A Brand, Ep. 9 by The Futur. Creator’s notes.
The YouTube player connects only when you press play. You can also use the video link above.
Give the designer one approved copy file
Share editable copy organised by product. Separate what should go on the front from ingredients, nutrition information and other material your team has approved for the label. Identify who checks the wording for each sales market and who makes the final call.
Send the barcode with its matching product version. Have the printer check it on a proof at final size, including the blank space around it and the contrast on the actual stock. A clean barcode in a PDF can still be hard to read where the pouch curves or folds.
Sources: GS1’s barcode quality checklist
What to send before the first design review
One-page brief
Product, intended buyer, sales channel, what the pack should communicate, budget range and launch date.
Product spreadsheet
One row per version, with size, flavour, market, language and approval status.
Artwork inputs
Brand guidelines, editable logo, existing pack photos, approved label copy, barcode files and the current dieline when available.
Handoff list
Agree who needs print PDFs, editable artwork or images for the shop, and who signs off on the printer’s proof. Keep a clear file name or version number for each approved pack.
A useful final review
Print the front at actual size. Ask someone who hasn’t seen the design to identify the product and flavour. Then fold a proof or wrap it around the intended container and check what happens to the seam, lettering and barcode.
Try it with your project
Your selections stay on this page until you leave or refresh. Copy them to keep a record.
Your next step
Start with the pack you need.
If you’re launching a food brand or reworking a range, tell us what you’re making, where it will be sold and when you need the artwork.
Explore food branding and packagingWhat happened when you tried?
Which part of your brief is still open: the format, the product range or the artwork? Tell us where you’re stuck.
Share your feedback
Email us directly at hello@designerbstudio.com.
Replies go to our inbox; they are not posted publicly. Please leave out verification codes and identity documents.